
What It Is, Why It Wins, and Who It Helps
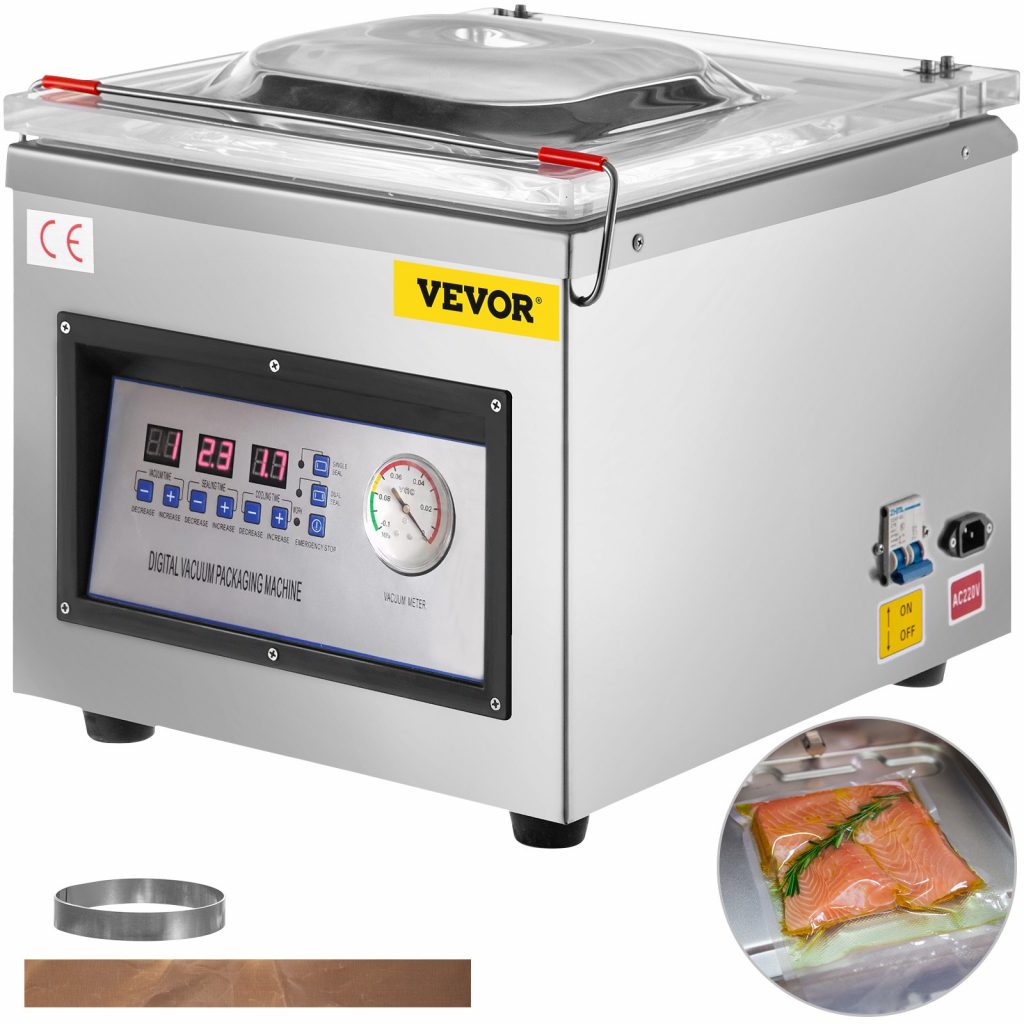
A VEVOR chamber vacuum sealer looks like a small stainless box with a clear lid. Inside that box is a pressure-controlled space. You place a bag with food inside the chamber. The machine pulls the air out of the whole chamber, not just the bag. Then it seals the bag with a hot bar. Finally, it lets air back in. The bag stays tight and clean. Nothing leaks. Nothing squirts. In other words, it removes guesswork and mess at the same time.
This is the key difference from an edge sealer. Edge sealers suck air from the bag mouth only. Liquids rush toward the seam. Spills happen. Seals fail. With a chamber sealer, the pressure drops everywhere at once, so soups, sauces, and marinades stay calm. That one shift changes everything. You can seal chili, broths, fresh fish, and even wet marinated meat without drama. You also use smooth chamber bags, which cost far less than textured edge-sealer rolls. That saves money after more than a few boxes.

Who benefits most?
- Meal preppers and home cooks. Batch lasagna. Single-serve stews. Family packs of chicken. We cook once, portion twice, eat three times.
- Sous-vide fans. Seal any liquid safely. No floaters. No leaks.
- Gardeners, hunters, anglers. Lock in peak-season produce. Protect meat and fish with clean, strong seams.
- Small food brands and market stalls. Candy, jerky, spice blends, baked goods, and ready-to-heat meals look pro and last longer.
- Coffee and tea people. Seal whole beans or loose leaf in low-oxygen packs.
- Makers and fixers. Keep hardware, silver, and tools rust-free.
Why does it win? Three reasons: control, speed, and lincolnshire market towns consistency.
- Control. You can set vacuum time, seal time, and sometimes a soft-air return. That protects crushable items and delicate textures.
- Speed. A chamber sealer pulls down fast and seals in seconds. You can run cycle after cycle.
- Consistency. Flat bags, flat bar, even heat. The seam is wide and repeatable. It just works.
Let’s break down features in plain terms so we pick the right tool and use it well.
- Chamber size. This is the inside footprint and height. Measure the biggest bag or container you plan to seal. If you do soups in quarts, you need the headroom. If you do slabs of ribs, you need the width. A tight fit is okay. Too small is a hard stop.
- Seal bar length. A longer bar fits wider bags and lets you seal two small bags at once. Double-sealing (two lines) adds security for wet or fatty foods.
- Pump type. Oil-lubricated pumps run quietly and handle heavy duty well. They like regular oil changes. Dry pumps need less care but may be louder or slower. Both work; your choice depends on schedule and patience for maintenance.
- Controls. Simple dials or digital panels set vacuum, seal, and cooling time. Some units add a “marinate” or “pulse” mode. Think about who will use it. If the whole team must run it, simple is best.
- Build. Stainless bodies clean fast. Thick acrylic lids let you watch the seal area. Gaskets around the chamber rim keep vacuum tight. A clean gasket is a happy gasket.
The bottom line: a VEVOR chamber vacuum sealer brings commercial power to a home kitchen or small shop without a steep learning curve. Instead of fighting with edge sealers, we step up to a tool that matches our real food and real life.
How to Use It Like a Pro (Day One to Day 1000)
We keep this section short, direct, and repeatable. You can print it. You can hand it to a helper. You can stick it on the wall. It just works.
Quick-Start Steps
- Prep the food. Cool hot items to fridge temp. Portion neatly. Wet foods? Chill until thick. Soups? Par-freeze flat in a tray for 30–60 minutes if you have time. That cuts foam and splash.
- Choose the right bag. Use smooth chamber bags. Pick the smallest size that fits. Less empty space means cleaner seals.
- Pack smart. Keep the bag mouth clean and dry. For saucy foods, fold the top edge back while filling, then unfold for a clean lip. Lay items flat so they stack well later.
- Place in the chamber. Keep the open end straight across the seal bar. No wrinkles. No folds. If your machine allows it, place a small spacer or grate under the bag so liquids sit slightly below the seal bar level.
- Set the cycle. Start with a moderate vacuum time and a firm seal time. If your unit shows percentages or steps, aim for a strong vacuum without crushing. Use “soft air” or “gentle return” when sealing wet or delicate items.
- Run the cycle. Lower the lid. Watch the bag. Liquids will bubble a bit as pressure drops. That is normal.
- Inspect the seam. You want a straight, glossy line, sometimes two. Press lightly; it should feel flat and bonded. If you see gaps or milky spots, increase galapagos islands national park seal time slightly and run again with a fresh bag.
Dialing In the Settings
- Vacuum time (or %). Longer pulls more air. Too long can crush soft food or cause boil-over. Watch the bag. When bubbles rise fast, you are near the limit. Shorten a touch.
- Seal time. Thicker bags need more time. If the seam looks thin or peels, go up a notch. If it looks burned or curls, go down.
- Cool time. This lets the seam set before the lid opens. A bit longer helps with fatty or hot seams.
Wet Foods Without the Worry
- Soups and sauces: Use a wide, shallow bowl to cool first. Skim fat. Fill bags half to two-thirds. Lay flat in the chamber. Use soft air return.
- Marinades: Add meat and marinade in the bag. Run a partial vacuum if your machine allows (stop early), then seal. The pressure shift pushes liquid into the fibers. Flavor moves fast.
- Foamy items: Stop the vacuum just as foam approaches the seal, if your unit allows manual control. Or par-freeze first. Foam under the seal can cause leaks.
Compression Tricks (Restaurant Moves at Home)
- Compressed fruit: Watermelon, strawberries, pineapple. Toss with a little simple syrup or citrus. Vacuum in a flat layer. The cells collapse a bit and the color deepens. The texture turns bold.
- Quick pickles: Pack sliced cucumbers, onions, or radishes with a mild brine. Vacuum once, hold sealed 30 minutes, then chill. The brine rushes in. Crunch stays bright.
- Infusions: Fresh herbs with neutral oil or spirits. Vacuum and rest. The flavor jump is fast. Keep it refrigerated and use soon.
Crushables and Delicates
- Bread and pastries: Freeze first until firm, then seal. Or vacuum to a lower level and use soft air.
- Chips or crackers: Place inside a rigid container with holes (like a vented deli tub), then seal the whole container in a bag. In other words, give the item a “helmet.”
Label, Stack, Track
We win the week with labels. Write the what, weight, and date. Add a reheating note if helpful. Stack bags flat; they act like tiles in the freezer. Pull oldest first. That simple rotation saves money, time, and stress.
Small-Biz Flow That Scales
- Prep line: One person fills, one seals, one labels. Fewer hands per step equals speed.
- Weights and portions: Use a small scale for exact fills. Your customers notice consistency.
- Batch schedule: Pick a chamber day each week. Run big packs first, then smalls. Seal bar stays cleaner that way.
- Presentation: Wipe each bag after sealing. Fingerprints and smears show. A three-second wipe looks like quality.
Safety Habits That Stick
- Cool hot foods before sealing. Sealing hot items traps steam and creates weak seams.
- Keep raw and ready-to-eat items separate. Change gloves between categories.
- Chill sealed food quickly. Use shallow stacks for fast cooling.
- When in doubt, label short dates and use the freezer. Cold is your friend.
Common Problems and Fast Fixes
- Seal pops or leaks. Increase seal time. Replace the Teflon tape over the bar if worn. Make sure the bag mouth was dry. Use double-seal if available.
- Bag puffs after sealing. Some fresh produce off-gasses. Par-freeze, blanch, or use it sooner.
- Liquid boils in the bag. Shorten vacuum time, use soft air, and chill deeper before sealing.
- Slow vacuum. Check the chamber gasket for crumbs, folds, or cracks. Wipe and reseat.
- Wrinkled seam. Smooth the bag mouth across the bar. Use a ducks for pest control bag one size larger.
- Crushed food. Reduce vacuum level or prop delicate items with a tray or mesh.
Batch Ideas You Can Steal This Week
- Protein packs: Chicken thighs in three flavors—lemon-garlic, BBQ, and herb. Freeze flat.
- Lunch tiles: Rice + braised beans + veg in meal-size bags. Reheat by simmering the sealed bag.
- Breakfast blocks: Smoothie bases (fruit + yogurt) sealed flat. Snip, blend, done.
- Garden gold: Blanched green beans, corn off the cob, tomato sauce pucks.
- Snack shop: Jerky, trail mix, granola portions for the gym bag or market table.
Edge Tricks That Save Time
- Fold the bag top back while filling to keep the seal area spotless.
- Use a small rack or spacer under runny items so liquid sits below the seal plane.
- Seal two narrow bags at once if the bar is long enough. Double output, same cycle.
- Keep a stack of paper towels nearby. Dry the bag mouth in one swipe, every time.
- Run a “seal-only” cycle to reseal factory snacks or fix a bag you cut too long.
What About Jars and Containers?
Some chamber sealers accept special rigid containers designed for vacuum. If yours does, great—use them for salads, greens, and soft desserts. If not, stick to bags and flat trays. The core value is the same: control the air, protect the food, and move on with your day.
Care, Troubleshooting, and Smart Upgrades (Plus Buy-Right Tips)
A chamber sealer is a small machine, not a mystery. A few habits make it last longer and work better.
Daily and Weekly Care
- Wipe the chamber. Crumbs and oil on the gasket break the seal. A damp cloth is enough.
- Clean the seal bar. Keep the Teflon cover smooth. If food burned onto it, let the bar cool and wipe gently. Replace the Teflon strip if it’s nicked.
- Check the lid and hinge. Acrylic stays clear with soft soap and water. Avoid harsh abrasives.
- Airflow. Give the vents space. Dust the intake slots now and then.
Pump Care (Oil vs Dry)
- Oil-pump units: Change oil on schedule. Warm the machine for a few minutes before heavy sessions. Cloudy oil means it’s time to swap. Keep the reservoir at the right level.
- Dry-pump units: Less routine care, but they still like clean air. Vacuum out dust around vents periodically.
- Noise and heat: A little hum and warmth are normal. Loud rattles or sudden changes are not. Stop and check screws, bars, and gaskets.
When Seals Start Failing
- Replace the chamber gasket if you see cracks, flattening, or leaks. It’s a wear part, like a tire.
- Reseat the seal bar and make sure it’s aligned. A crooked bar makes crooked seams.
- Try a fresh box of bags. Old or sun-baked bags can fail no matter what you do.
Smart Upgrades That Punch Above Their Weight
- Bag kit variety. Stock small snack, quart, and large flat sizes. The right size saves time and plastic.
- Extra Teflon strips and a spare gasket. Downtime kills momentum. Having spares saves a day.
- Cooling racks and sheet pans. Par-freeze and stack like a pro.
- A compact scale. Portion perfect every time.
- Label system. Sharpies work. A date stamp or small labeler is even better.
Storage and Power
- Give the machine a sturdy counter with a clean outlet.
- If you move it, lift from the base, not the lid.
- Avoid tight cabinets where heat builds up.
- Keep cords tidy so no one snags the lid mid-cycle.
Troubleshooting Cheatsheet
- Machine won’t pull vacuum: Check the lid gasket and chamber rim for debris. Confirm the lid fully seats. Verify power and settings.
- Stops mid-cycle: Overheat protection may trip after long runs. Let it rest, then resume.
- Melted bag edges: Seal time too high or bag too thin for your setting. Step the seal time down.
- Water in the chamber: You sealed something too hot or too full. Unplug, wipe dry, and let it air out before the next run.
Buying Tips (Future-You Will Thank Present-You)
- Measure the chamber, not just the outside. Your biggest bag must lie flat with a little headroom.
- Match pump to workload. Daily heavy runs? Consider oil-lubed. Occasional home batches? Dry pump may be perfect.
- Seal bar length matters. Longer bars seal wider bags and two smalls at once.
- Controls you’ll actually use. Simple dials are great if multiple people operate the machine. Digital presets shine when you repeat the same products all week.
- Electrical fit. Choose a unit that matches your outlet and circuit.
- Weight and placement. These machines are stout. Pick a home for it and keep it there. That convenience increases how often you use it.
Cost Math That Makes You Smile
Chamber bags are cheap. Sealing two or three bulk packs of meat each month and a few gallons of soups often covers the difference versus constant edge-sealer rolls. Add fewer failed seals and less freezer burn, and the machine starts paying for itself. In other words, freshness is not just taste—it’s savings.
Food Ideas That Shine in Chamber Bags
- Braises and stews portioned for rainy nights
- Steak with herbed butter, ready for the pan or bath
- Roasted veggies for quick bowls
- Leftover rice pressed flat for fast fried rice day
- Cookie dough disks you can slice and bake from frozen
- Fish fillets with lemon and dill, sealed clean with no smell in the fridge
Small Business Wins
- Look: Flat, tight packs with clear seams feel premium.
- Shelf life: Less oxygen slows staling and rancidity.
- Speed: Predictable cycles keep labor steady.
- Trust: A consistent label and date code tell customers you care.
Mindset That Keeps You Sharp
- Think in systems: prep → fill → seal → chill → store → rotate.
- Think in tiles: flat bags stack, track, and travel better.
- Think in time: cook once, eat many. Seal the gap between a busy day and a good meal.
FAQ in Plain Words
- Can it seal liquids? Yes. That’s the point. Cool first for best results.
- Do I need special bags? Use smooth chamber bags. They’re cheaper and seal cleaner.
- Is maintenance hard? No. Wipe, check gaskets, and, if oil pump, change oil on schedule.
- Will it crush soft foods? Only if you pull too hard a vacuum. Use soft air, spacers, or partial vacuum.
- Is it loud? It hums. Most kitchen gear is louder.
- How long does a cycle take? Usually seconds, not minutes. You’ll spend more time filling than sealing.
A Simple Weekly Plan
- Sunday: Batch cook and chill. Seal mains and sauces.
- Wednesday: Top-up run—breakfast bases, snacks, and greens.
- Friday: Market prep or freezer rotation. Pull two tiles for the weekend.
- Monthly: Wipe vents, check gaskets, restock bags, note oil status (if needed).
This rhythm keeps food moving, waste low, and meals stress-free.
Why It Feels Urgent Right Now
Food costs are up. Our time is tight. We want better meals, not bigger chaos. A VEVOR chamber vacuum sealer gives us leverage. It turns a crowded week into relaxed dinners. It turns a side hustle into a cleaner, safer product line. It turns a garden harvest into winter comfort. But most of all, it turns good intentions into bags you can actually grab and use. That’s a real win.
Sealed Futures: Crisp Edges, Fresh Starts
Here’s our move. We clear a spot on the counter. We set the machine level and plug it in. We stock three bag sizes, a marker, and a small scale. We pick one meal to batch today—maybe a soup and a protein. We cool, portion, seal, and stack. We label with pride.
In other words, we choose control. We save money. We lower stress. After more than a week, we feel the difference every night at the table. After more than a month, our freezer looks like a tidy library of good choices. And after more than a season, we realize the machine paid for itself in less waste and fewer last-minute takeout orders.
Let’s do it. One clean seam at a time. One calm dinner at a time. The plan is simple. The results are big.