A travel router is a small, portable Wi-Fi device that lets you create your own secure wireless network wherever you go—hotel room, Airbnb, conference center, RV, even overseas. Think of it as a pocket-sized router that can pull internet from whatever’s available (hotel Ethernet jack, public Wi-Fi, your phone’s hotspot, a USB modem) and rebroadcast it as your private Wi-Fi for all your devices.
What it actually does
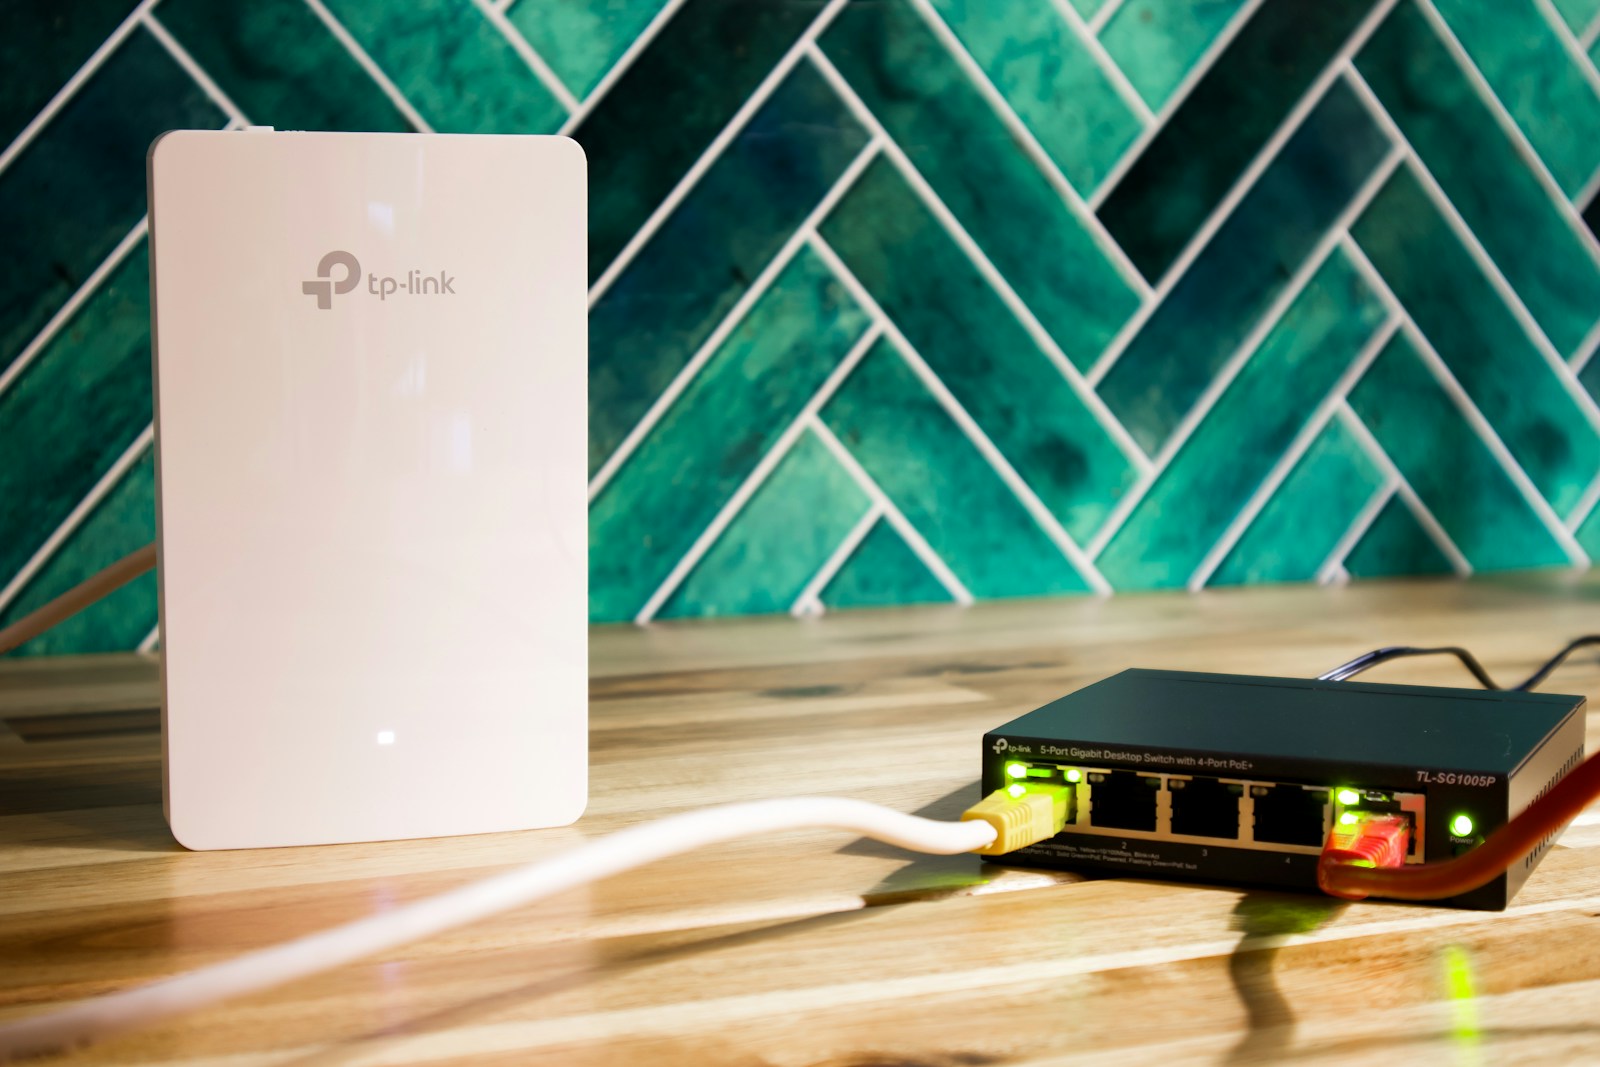
- Repeats/extends Wi-Fi: Connects to a venue’s Wi-Fi and rebroadcasts it under your own network name and password.
- Shares wired internet: Plugs into an Ethernet port and turns it into Wi-Fi for laptops, tablets, and smart gadgets.
- Acts as a firewall: Puts your devices behind Network Address Translation (NAT) so they aren’t directly exposed to public networks.
- Captive portal tamer: You sign in once on the router to hotel/airport splash pages; the router keeps the session alive for all your devices.
- Hotspot management: Teams nicely with your phone or a 5G/4G modem to create a better-range, multi-device hotspot.
Why you’d want one
- Security: You control the network password and encryption instead of trusting random public Wi-Fi.
- Convenience: Connect your devices once (laptops, phones, watch, Kindle, streaming stick, travel camera), then just power the router on at each stop.
- Consistency: Same SSID and password everywhere, so your gadgets auto-connect.
- Bypass device limits: Some hotels limit how many devices you can connect—your travel router counts as one.
Key modes you’ll see
- Router (NAT) mode: Creates a private network from wired or wireless internet.
- Repeater/Extender mode: Joins a Wi-Fi network and rebroadcasts it.
- Access Point (AP) mode: Turns a wired connection into Wi-Fi without doing routing.
- Client/Bridge mode: Puts a non-Wi-Fi device (like a smart TV) onto Wi-Fi via the router’s Ethernet port.
Features that matter (simple checklist)
- Power options: USB-C or micro-USB power (so you can use your phone charger or a power bank).
- Dual-band Wi-Fi: 2.4 GHz + 5 GHz for flexibility in crowded hotels.
- Wi-Fi 5 or 6: Faster, better range and stability; Wi-Fi 6 is nice to have.
- Gigabit Ethernet port: For when the room has wired internet.
- VPN client/server: So the router itself tunnels traffic (then every device behind it gets the VPN automatically).
- Captive portal helper: Makes hotel splash-page logins easier.
- Firmware options: Some support lightweight open-source firmware for advanced features (ad-blocking, custom VPNs).
Quick setup (typical flow)
- Power it up (USB from a wall adapter or power bank).
- Connect to its default Wi-Fi and visit the admin page (printed on the device).
- Change SSID and password (make this your permanent travel network).
- Choose where it gets internet:
- Hotel Ethernet: Set to Router/AP mode; plug in the cable.
- Hotel Wi-Fi: Use Repeater mode, select the hotel network, complete the splash page once.
- Phone hotspot: Put the router in Client mode to your phone, or share via USB tethering if supported.
- (Optional) Turn on VPN on the router for an all-devices tunnel.
Security tips
- Use WPA2 or WPA3 on your travel SSID.
- Change the admin login (not just the Wi-Fi password).
- Keep firmware updated before you leave.
- Prefer NAT/Router mode on public networks for an extra firewall layer.
- If you stream, consider a guest SSID for borrowed devices.
What it’s not
- It’s not a cellular modem by itself (unless the model includes LTE/5G). Most travel routers need Wi-Fi, Ethernet, or a separate hotspot/USB modem for internet.
Perfect use cases
- Hotels with shaky Wi-Fi or device limits
- Conferences and shared spaces where you want your own private network
- RVs, campers, and boats swapping between campground Wi-Fi and phone hotspot
- International trips where you rent a local hotspot/SIM but want all your devices to hop on painlessly
Bottom line: a travel router gives us a consistent, secure, “our-own” network on the road—with one setup, less hassle, and a lot more peace of mind.